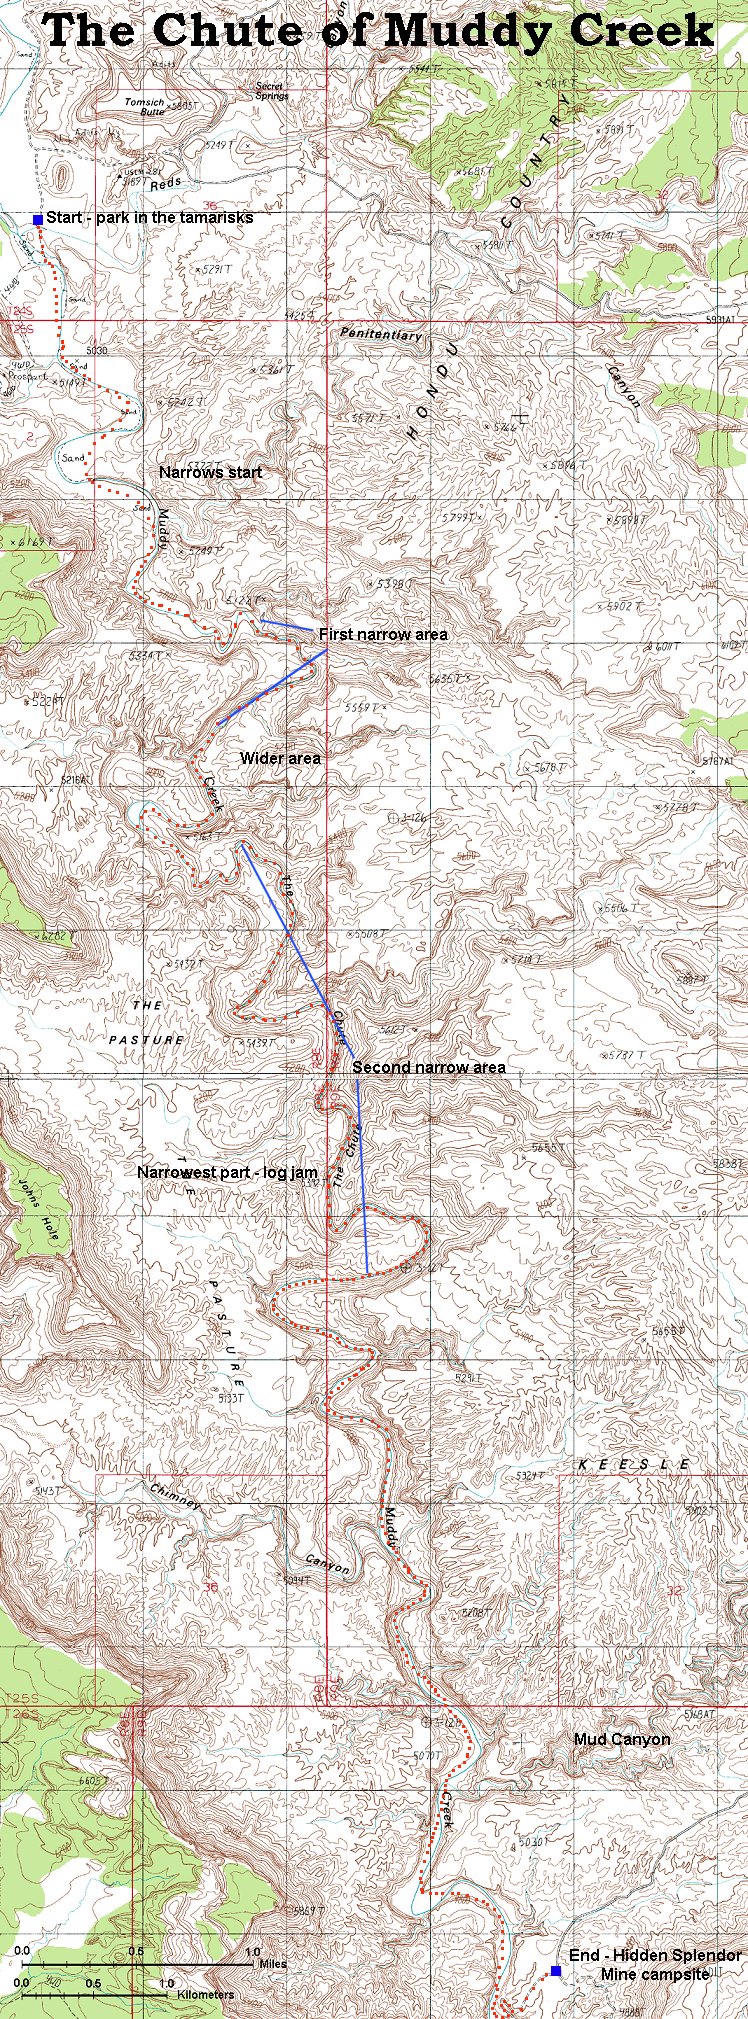
Skip map to see list of images
Or:
Follow the trail with the mouse.
Hold mouse over the map where the cursor changes to hand to see the description.
Click to view the image.
 1. Morning panorama at the Hidden Splendor Mine.
 2. Panorama from the start of the trail south towards where the narrows start.
 3. View from the start north towards Tomsich Butte.
 4. First crossing of the creek.
 5. Wild horses on the horizon west of the creek.
 6. The creek narrows after the second meander.
 7. View upstream from the same spot.
 8. Crossing the creek at yet narrower area.
 9. View downstream from the same spot.
 10. First longer stretch of wading.
 11. Blooming cacti nearby.
 12. Last wider stretch before the first narrows.
 13. Entrance to the first narrows, it took us a bit over 1 hour to get here.
 14. View downstream from the start of the first narrows.
 15. Exiting the first continuous wading strech.
 16. The river narrows again round the corner.
 17. And continues to be narrow for another hundred meters or so.
 18. View downstream from the same spot as on the previous foto.
 19. A sunnier narrow about 5 min downstream from the previous foto.
 20. View upstream about 10 min. later.
 21. View downstream from the same spot.
 22. The first narrows ends another 5 min. downstream, total hiking time in the first narrows ca. 45 min.
 23. Wider area about 10 min downstream from the end of first narrows.
 24. View upstream 5 min later.
 25. View downstream from the same spot.
 26. A bit narrower section, but still not the start of the real narrows.
 27. Crossing the creek near the widest area.
 28. Cutting through a meander in the widest area.
 29. View downstream towards the second narrows .
 30. Start of the second narrows, hiking time in the wider section ca. 45 min.
 31. View downstream at the start of the second narrows.
 32. A small break at a wider area.
 33. View downstream from the same spot.
 34. A small riffle few minutes later.
 35. The canyon narrows, the water is getting deeper.
 36. Somewhat longer straight stretch.
 37. The canyon is still narrow another 10 min. later.
 38. View upstream at somewhat wider section 5 min. later.
 39. View downstream from the same spot.
 40. View downstream another 10 min. later.
 41. At this point, red upper mesas high above the canyon were visible the above white canyon walls.
 42. Another small rifle near the end of another straighter section.
 43. River turn with another nice view at the red mesa above.
 44. Interesting canyon wall 10 min. later.
 45. Another longer stretch of the canyon below the turn.
 46. A rock in the middle of the creek with bushes growing on it.
 47. View downstream another 10 min. later, here is about where the narrowest area starts. It took us 1.5 hr to get there from the start of the second narrows.
 48. View upstream few minutes later.
 49. View downstream from the same spot.
 50. Deep wading another 10 min. below.
 51. View downstream from the same spot.
 52. Dina crossing a small riffle.
 53. View downstream from the same spot.
 54. One of the small side canyons.


 55-57. Three shots of the narrows right above an alcove with a spring.
 58. The spring alcove with high walls above it.
 59. Detail of the spring.
 60. View downstream from the alcove.
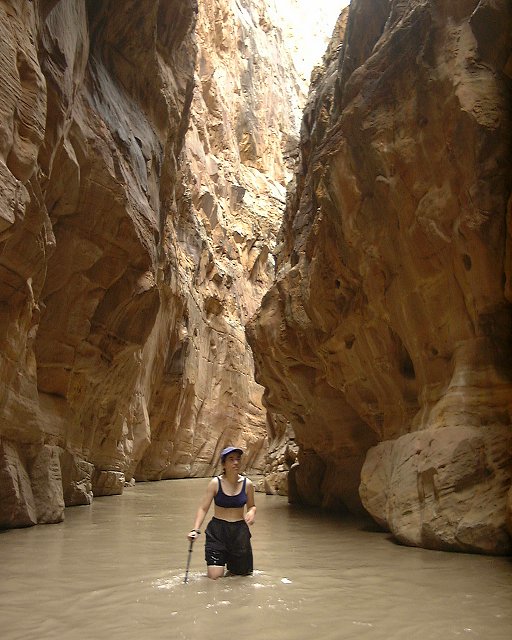
 61. Me on an island under the alcove.
 62. View downstream another 5 min. later.
 63. View upstream another 10 min. later.
 64. A small wider area where we had a lunch, view upstream.
 65. View downstream from our lunch spot, in the distance is the narrowest spot with a log jam.
 66. The log jam a little closer.
 67. View upstream from the same spot.
 68. Dina under the log jam.
 69. Detail of the logjam, view downstream.
 70. View upstream from the logjam, it took us a little under 3 hours to get here from the second narrows start, ca. 5.5 hrs from the trailhead.
 71. Deep wading continues in the turn below the log jam.
 72. View downstream minutes later.
 73. View upstream, to the turn below the log jam, from the same spot.
 74. A little sandy spot few minutes later.
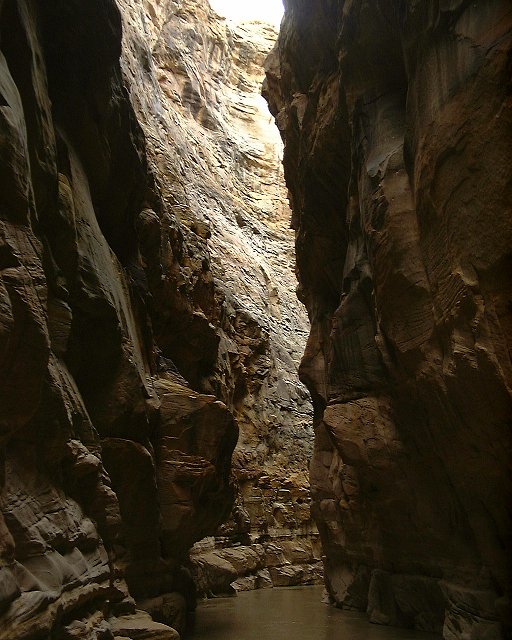
 75. High canyon walls in the seconf bend below the log jam.
 76. The canyon walls are still high, but the creek widens about 15 min from the log jam.
 77. View downstream another 10 min. later.
 78. View downstream another 10 min. later, end of narrows, ca. 30 min from the log jam.
 79. Another blooming cactus, now bloody red.
 80. View upstream about 30 min below the end of narrows.
 81. A narrower spot in the same area as previous picture.
 82. View downstream towards the mouth of Chimney Canyon, ca. 1hr. from the narrows end.
 83. View downstream from the mouth of Chimney Canyon.
 84. Another river crossing 10 min. below Chimney.
 85. A cactus garden in a river bend another 5 min. later.
 86. View downcanyon from the same spot, about 1 hr from Hidden Splendor Mine.
 87. Last river turn before Hidden Splendor, the thigh mesa in the background is the western side of San Rafael Reef.
 88. View north towards the mining track that goes from Hidden Splendor site to the creek, from the mesa where the camp area is.
 89. View south from the same spot towards where the creek starts cutting through the reef.
 90. Hondoo arch on the western rim of Muddy Creek near Tomisch Butte, picture take in the evening during the shuttle back.
 91. Panorama of San Rafael Reef from the road to Hidden Splendor in the evening.

 2. Panorama from the start of the trail south towards where the narrows start.
 3. View from the start north towards Tomsich Butte.
 4. First crossing of the creek.
 5. Wild horses on the horizon west of the creek.
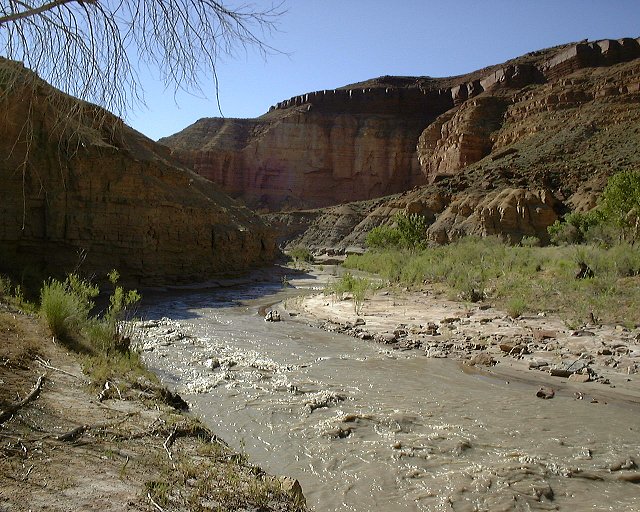 6. The creek narrows after the second meander.
 7. View upstream from the same spot.
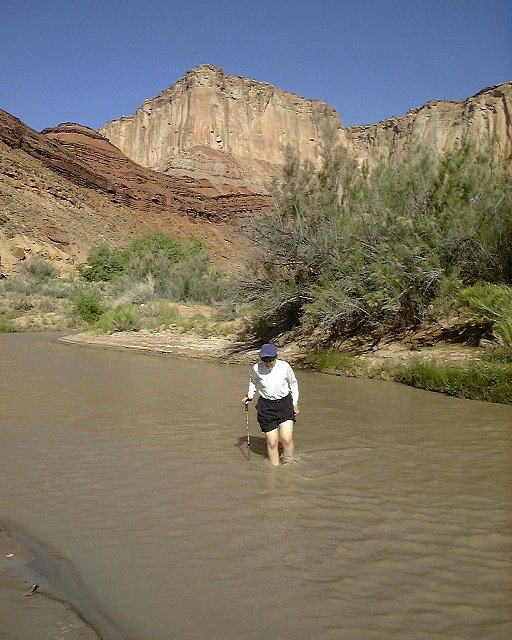 8. Crossing the creek at yet narrower area.
 9. View downstream from the same spot.
 10. First longer stretch of wading.
 11. Blooming cacti nearby.
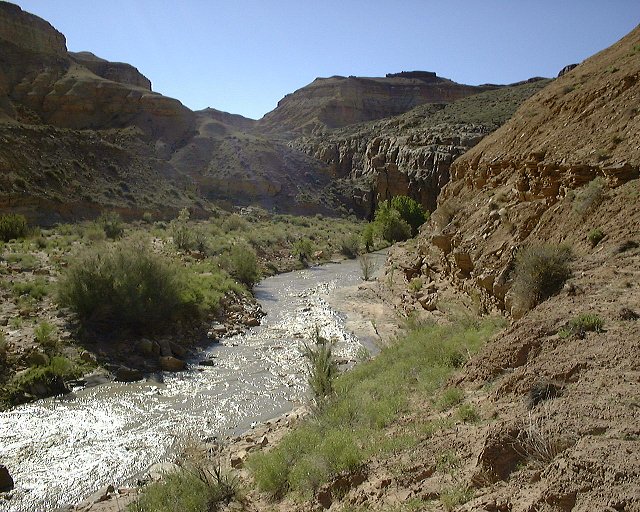 12. Last wider stretch before the first narrows.
 13. Entrance to the first narrows, it took us a bit over 1 hour to get here.
 14. View downstream from the start of the first narrows.
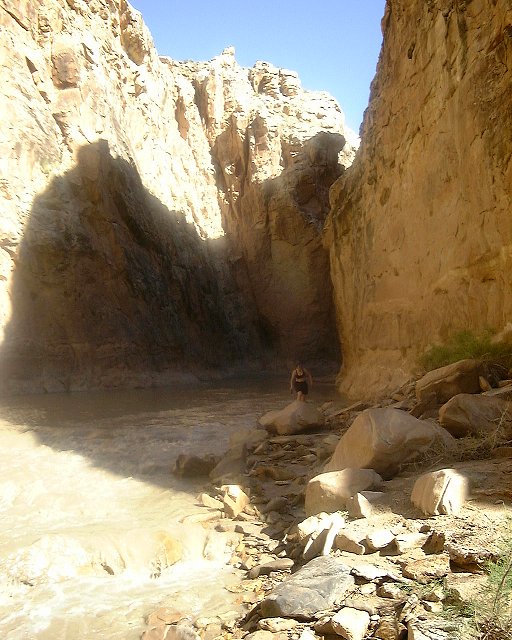 15. Exiting the first continuous wading strech.
 16. The river narrows again round the corner.
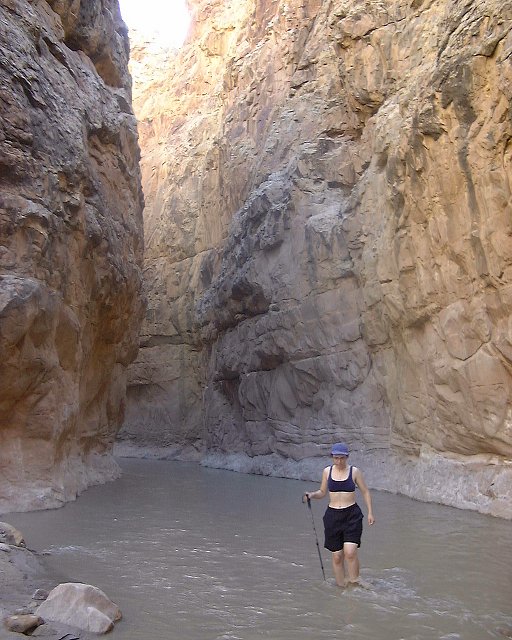 17. And continues to be narrow for another hundred meters or so.
 18. View downstream from the same spot as on the previous foto.
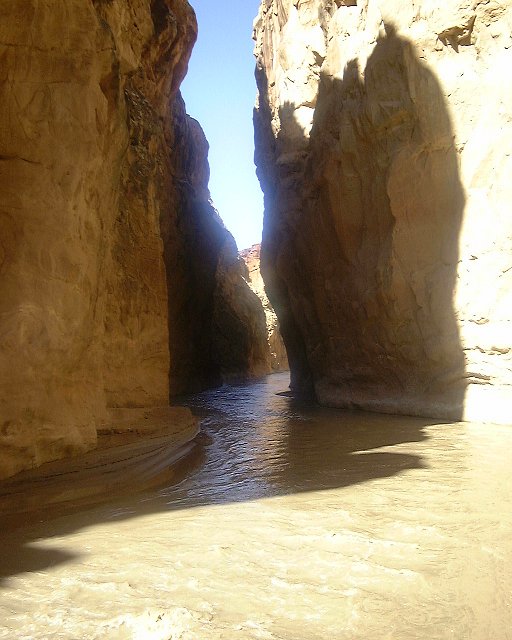 19. A sunnier narrow about 5 min downstream from the previous foto.
 20. View upstream about 10 min. later.
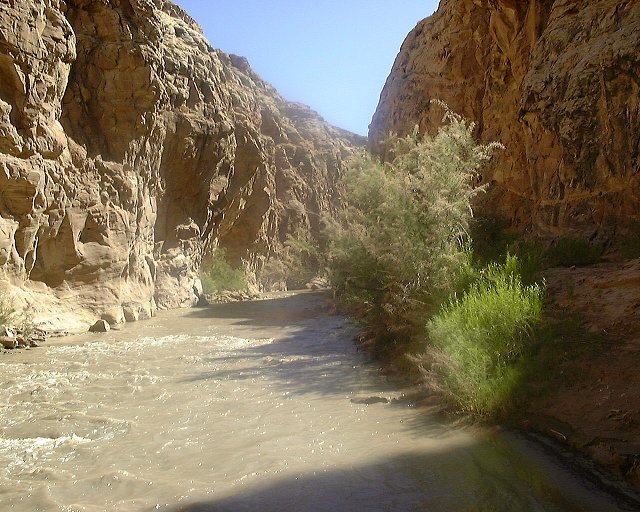 21. View downstream from the same spot.
 22. The first narrows ends another 5 min. downstream, total hiking time in the first narrows ca. 45 min.
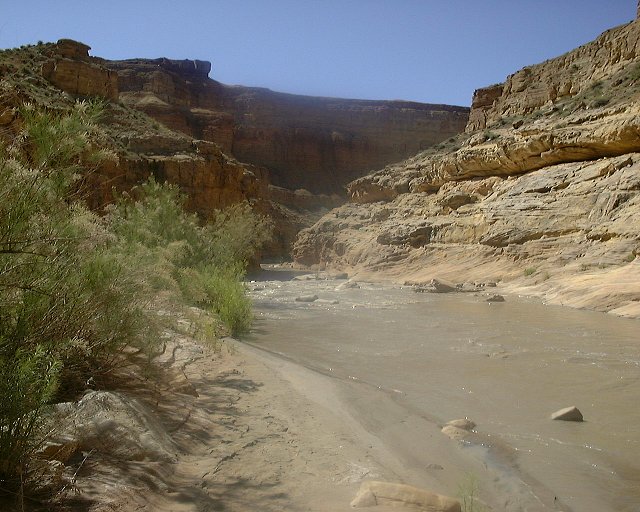 23. Wider area about 10 min downstream from the end of first narrows.
 24. View upstream 5 min later.
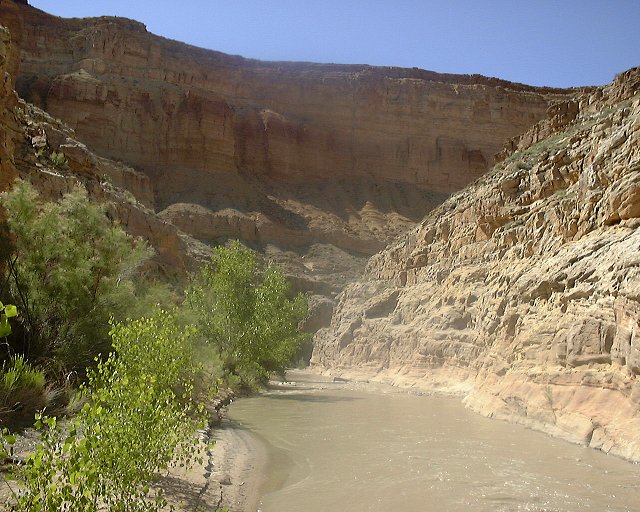 25. View downstream from the same spot.
 26. A bit narrower section, but still not the start of the real narrows.
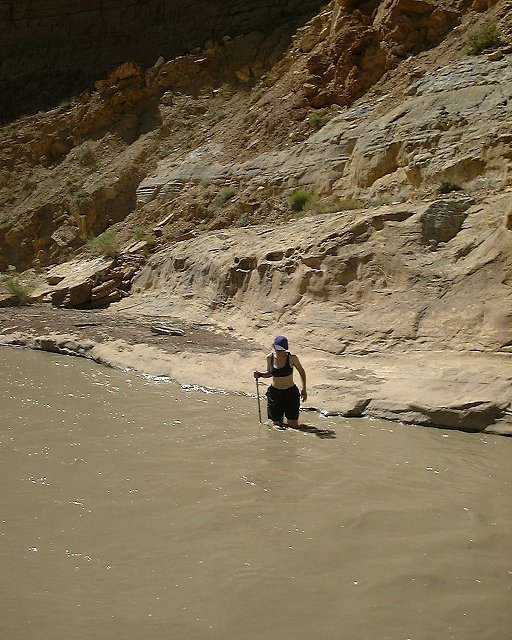 27. Crossing the creek near the widest area.
 28. Cutting through a meander in the widest area.
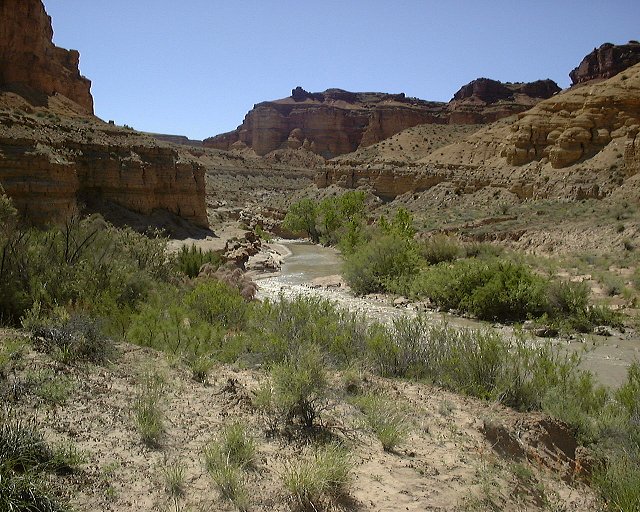 29. View downstream towards the second narrows .
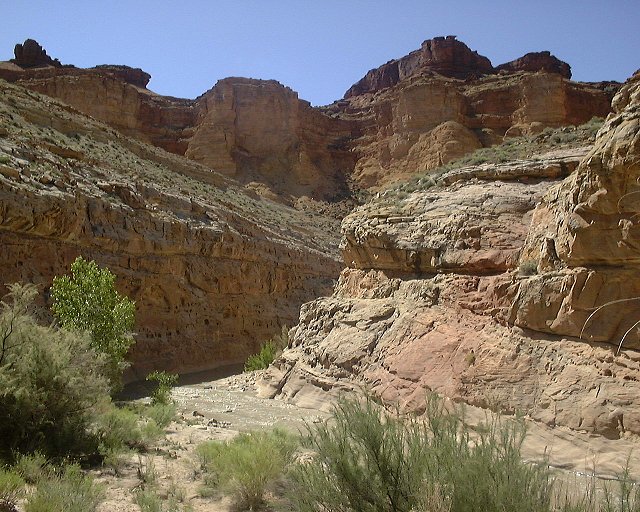 30. Start of the second narrows, hiking time in the wider section ca. 45 min.
 31. View downstream at the start of the second narrows.
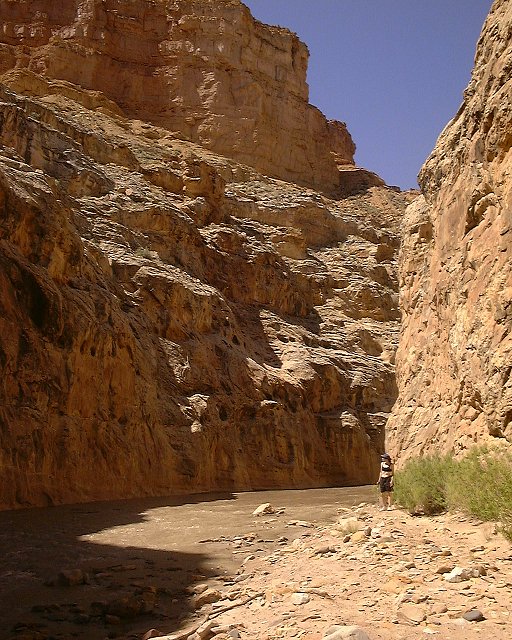 32. A small break at a wider area.
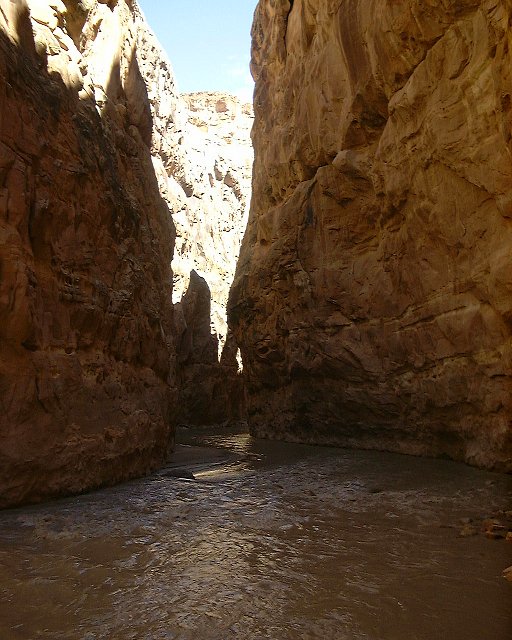 33. View downstream from the same spot.
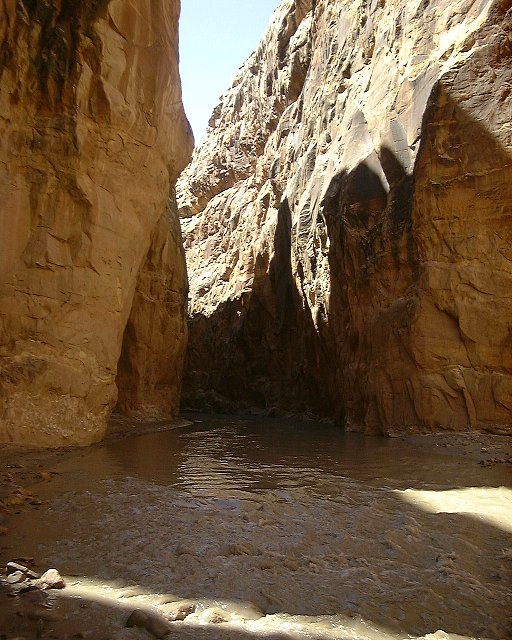 34. A small riffle few minutes later.
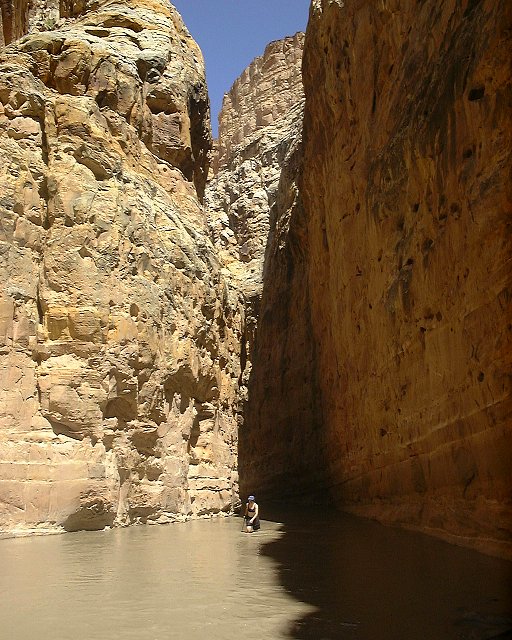 35. The canyon narrows, the water is getting deeper.
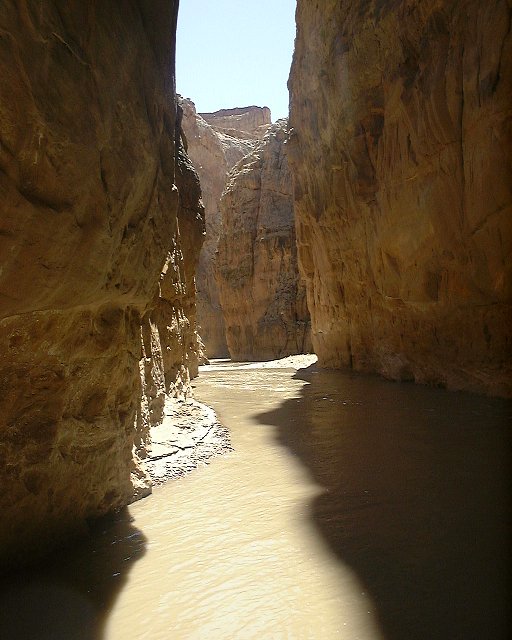 36. Somewhat longer straight stretch.
 37. The canyon is still narrow another 10 min. later.
 38. View upstream at somewhat wider section 5 min. later.
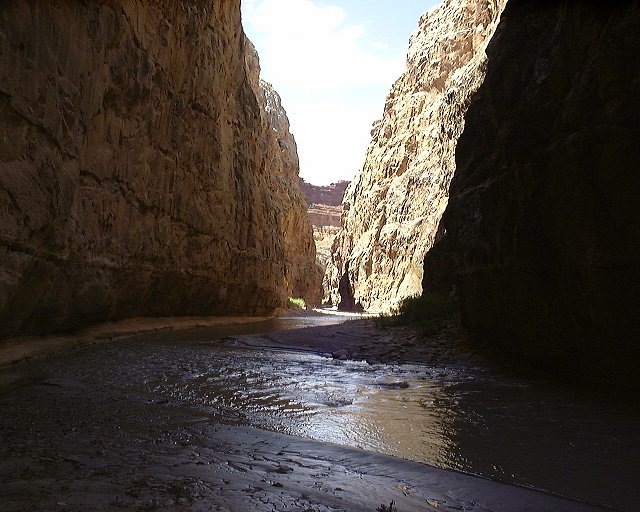 39. View downstream from the same spot.
 40. View downstream another 10 min. later.
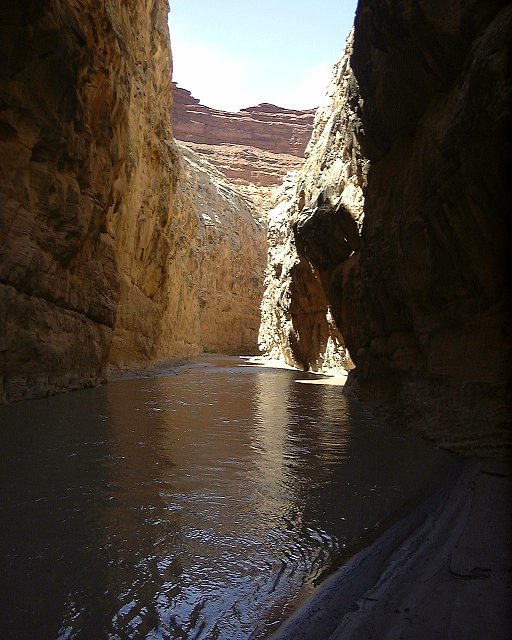 41. At this point, red upper mesas high above the canyon were visible the above white canyon walls.
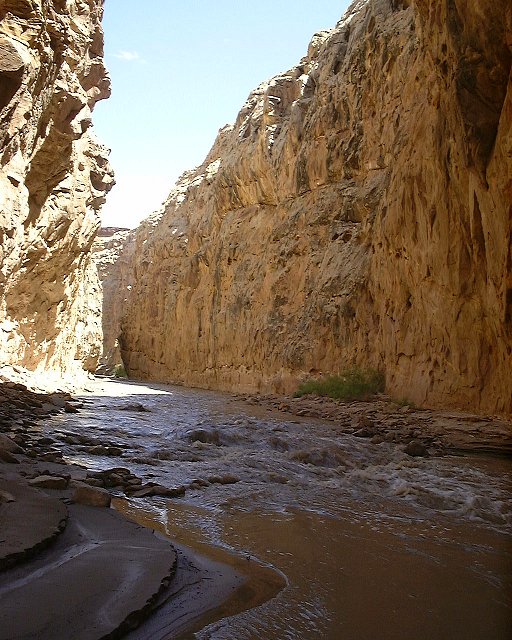 42. Another small rifle near the end of another straighter section.
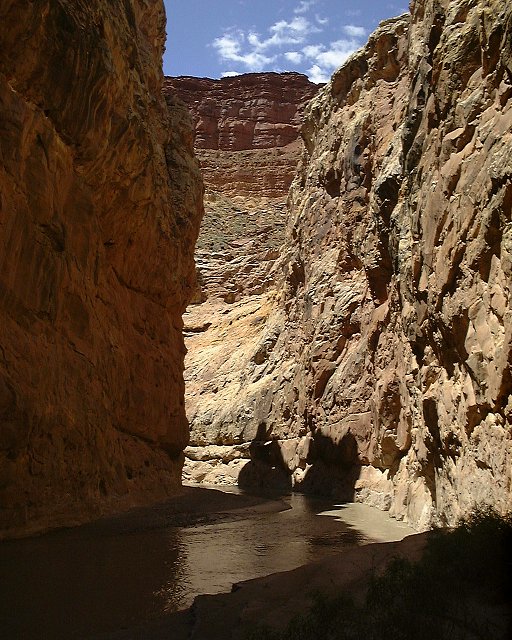 43. River turn with another nice view at the red mesa above.
 44. Interesting canyon wall 10 min. later.
 45. Another longer stretch of the canyon below the turn.
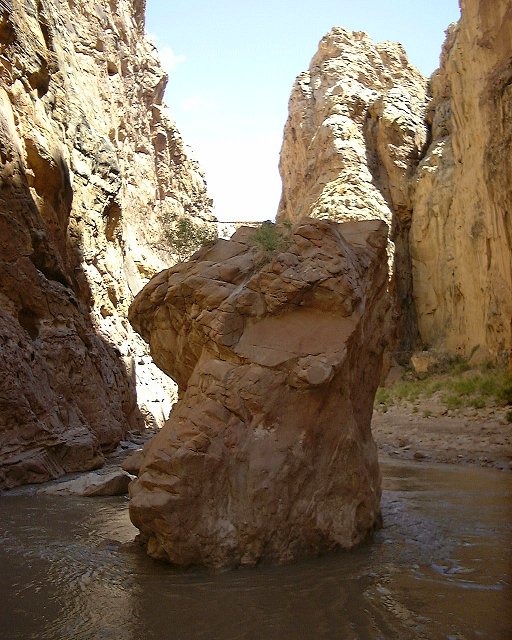 46. A rock in the middle of the creek with bushes growing on it.
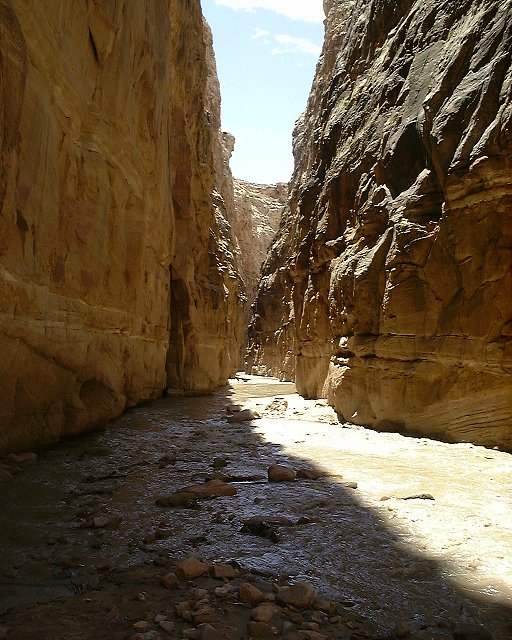 47. View downstream another 10 min. later, here is about where the narrowest area starts. It took us 1.5 hr to get there from the start of the second narrows.
 48. View upstream few minutes later.
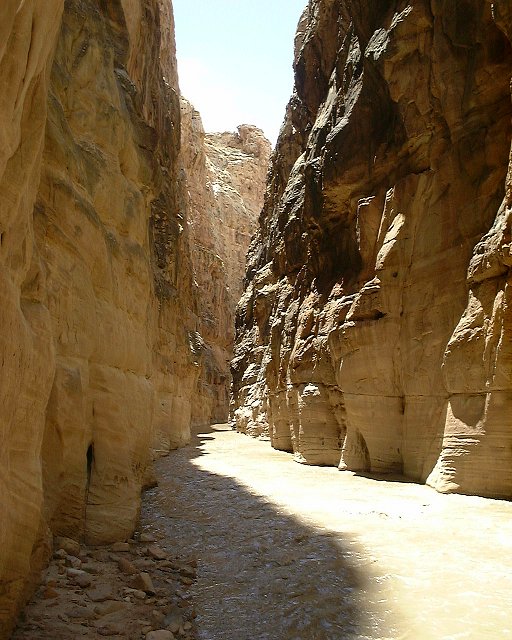 49. View downstream from the same spot.
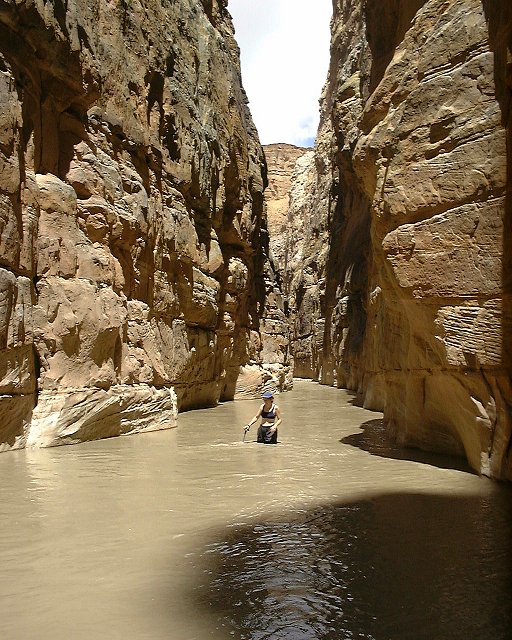 50. Deep wading another 10 min. below.
 51. View downstream from the same spot.
 52. Dina crossing a small riffle.
 53. View downstream from the same spot.
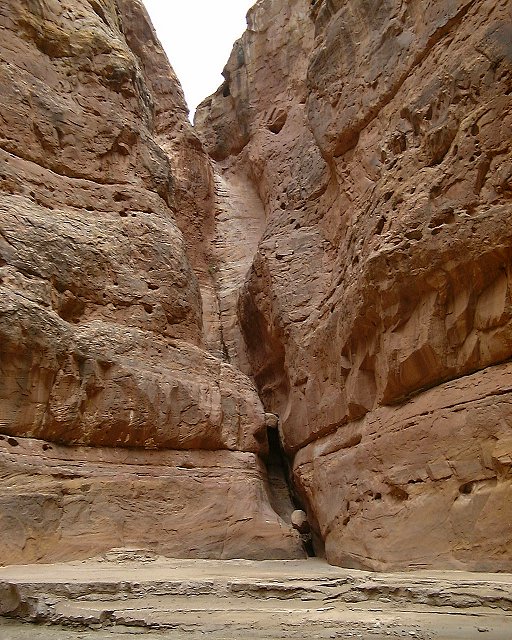 54. One of the small side canyons.
 55-57. Three shots of the narrows right above an alcove with a spring.
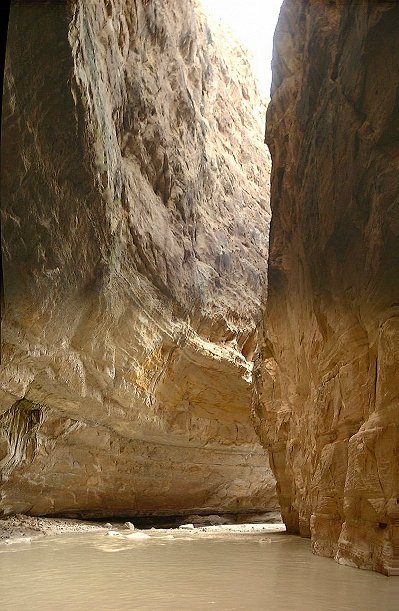 58. The spring alcove with high walls above it.
 59. Detail of the spring.
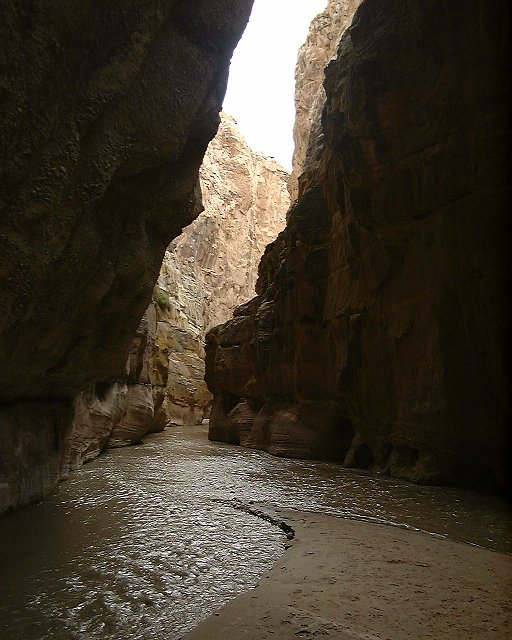 60. View downstream from the alcove.
 61. Me on an island under the alcove.
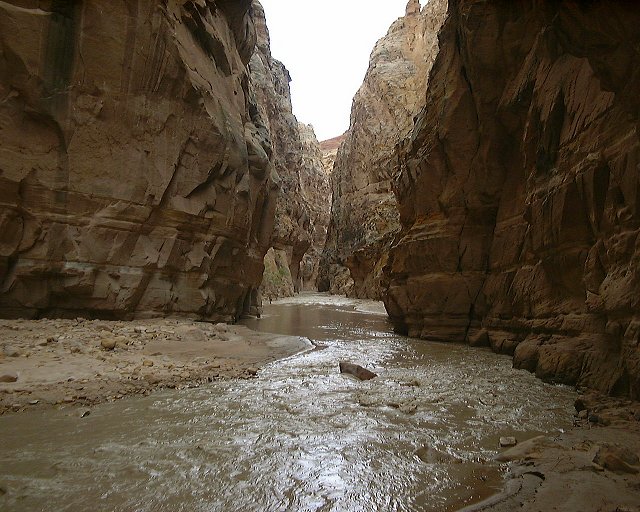 62. View downstream another 5 min. later.
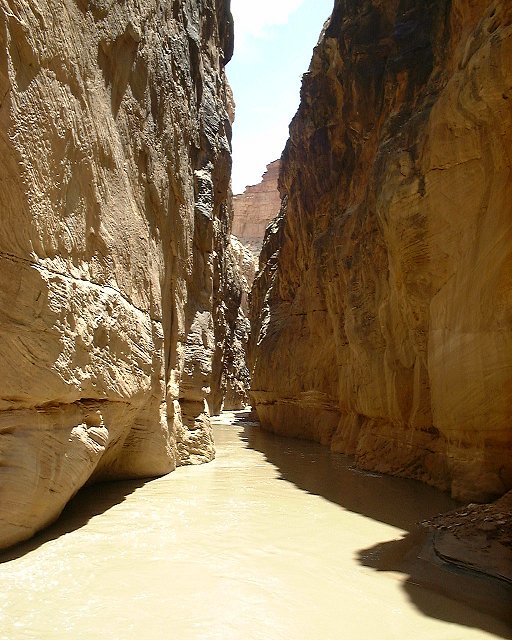 63. View upstream another 10 min. later.
 64. A small wider area where we had a lunch, view upstream.
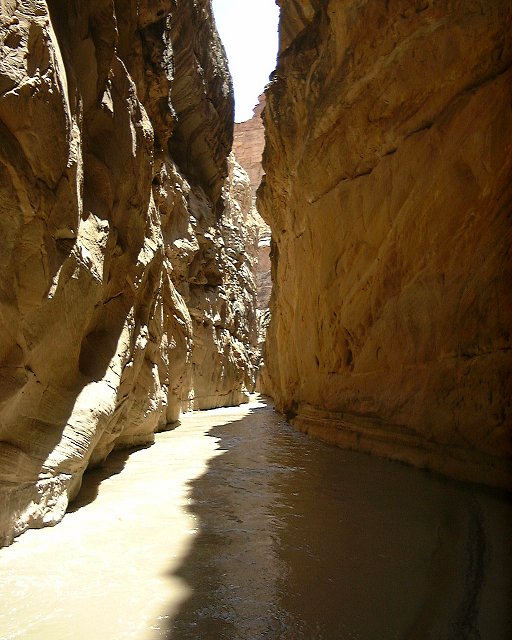 65. View downstream from our lunch spot, in the distance is the narrowest spot with a log jam.
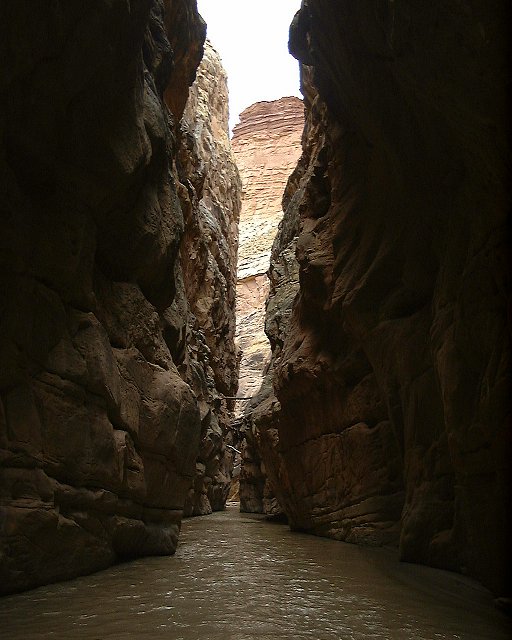 66. The log jam a little closer.
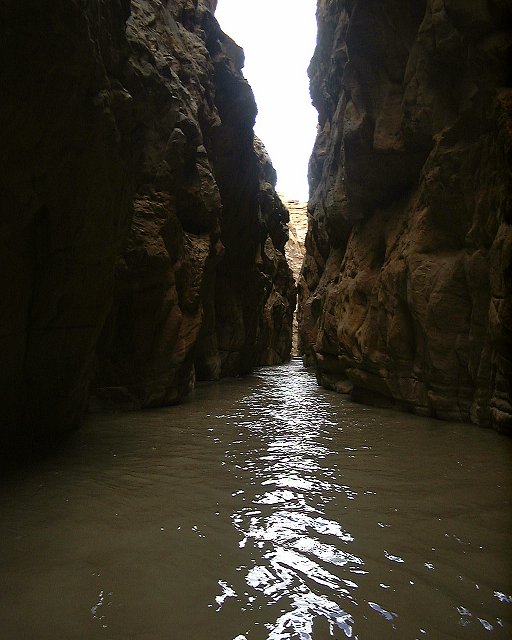 67. View upstream from the same spot.
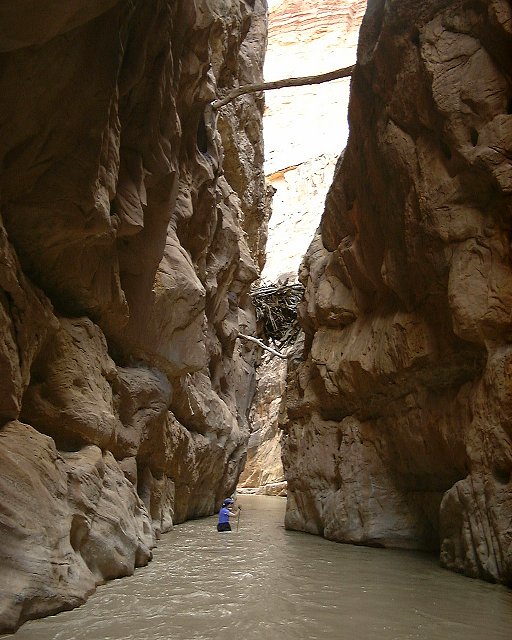 68. Dina under the log jam.
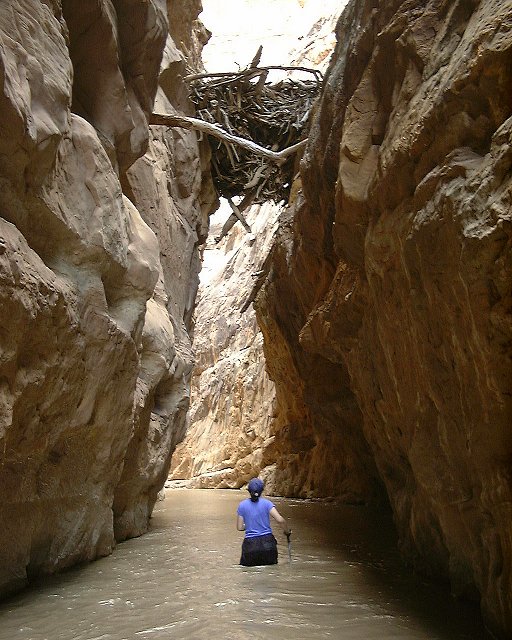 69. Detail of the logjam, view downstream.
 70. View upstream from the logjam, it took us a little under 3 hours to get here from the second narrows start, ca. 5.5 hrs from the trailhead.
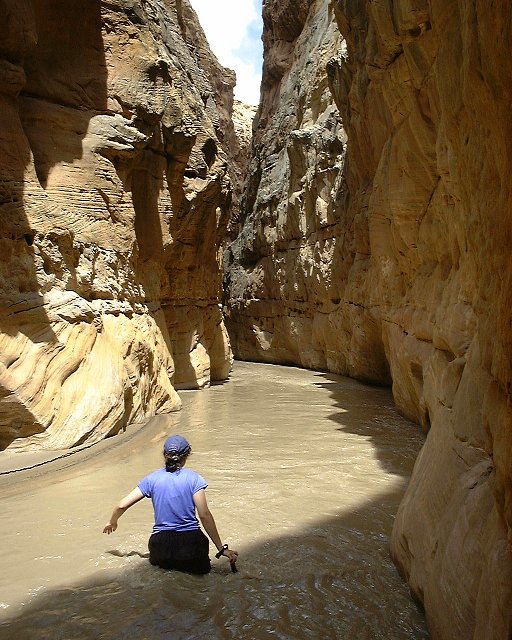 71. Deep wading continues in the turn below the log jam.
 72. View downstream minutes later.
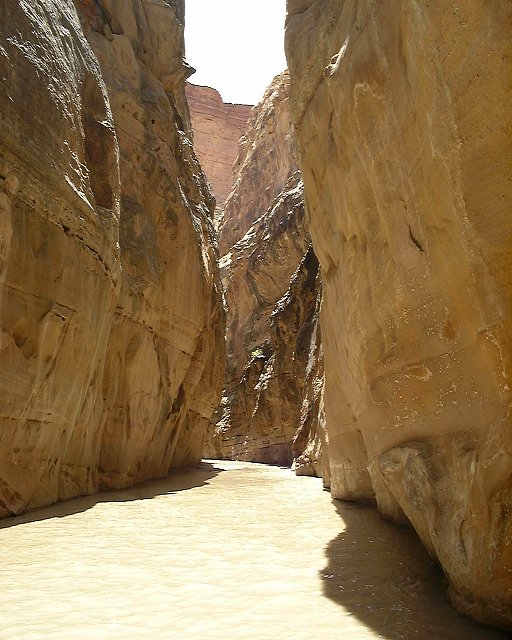 73. View upstream, to the turn below the log jam, from the same spot.
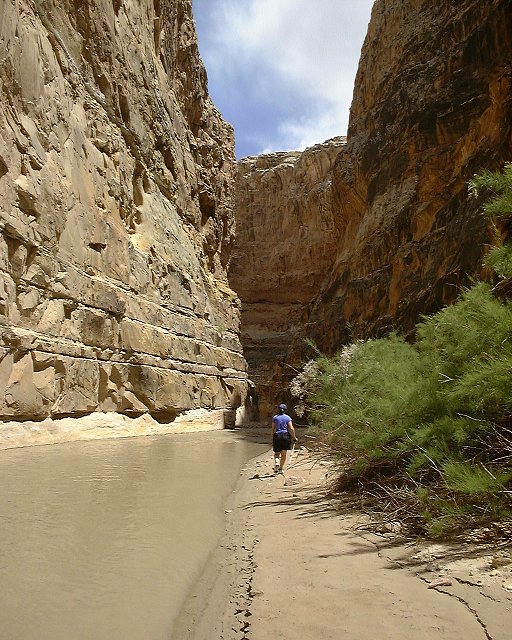 74. A little sandy spot few minutes later.
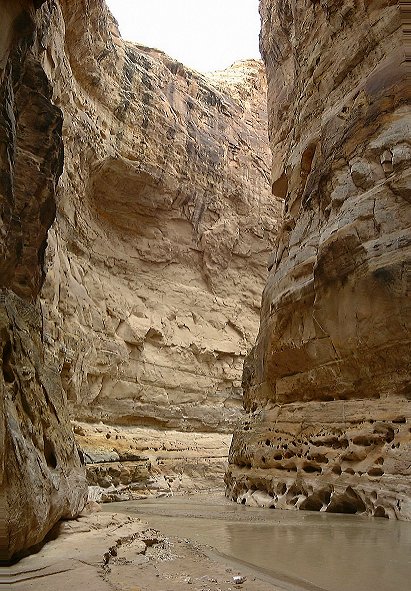 75. High canyon walls in the seconf bend below the log jam.
 76. The canyon walls are still high, but the creek widens about 15 min from the log jam.
 77. View downstream another 10 min. later.
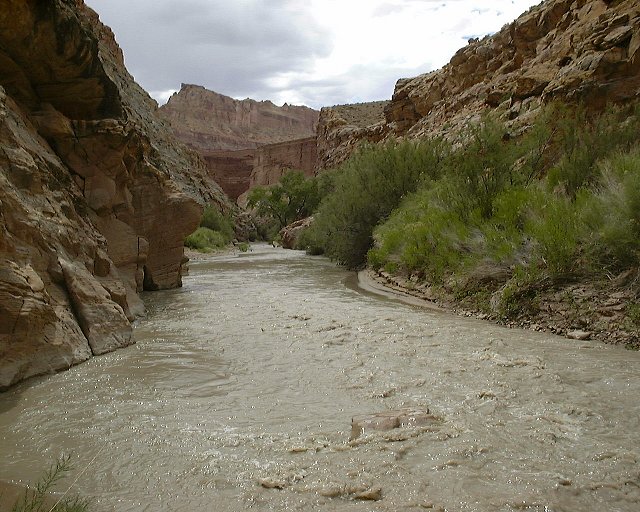 78. View downstream another 10 min. later, end of narrows, ca. 30 min from the log jam.
 79. Another blooming cactus, now bloody red.
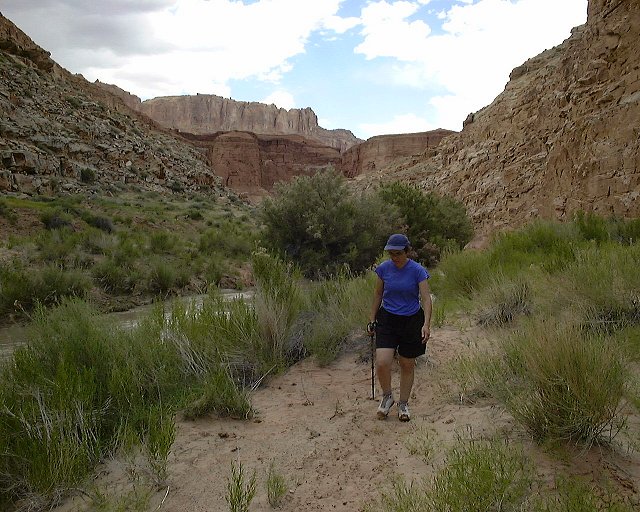 80. View upstream about 30 min below the end of narrows.
 81. A narrower spot in the same area as previous picture.
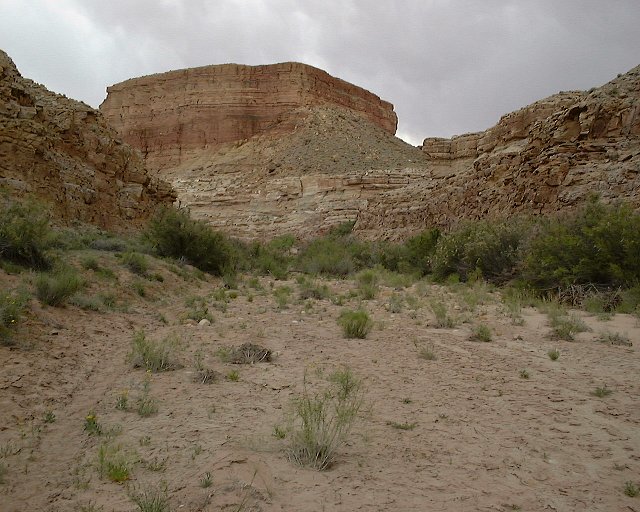 82. View downstream towards the mouth of Chimney Canyon, ca. 1hr. from the narrows end.
 83. View downstream from the mouth of Chimney Canyon.
 84. Another river crossing 10 min. below Chimney.
 85. A cactus garden in a river bend another 5 min. later.
 86. View downcanyon from the same spot, about 1 hr from Hidden Splendor Mine.
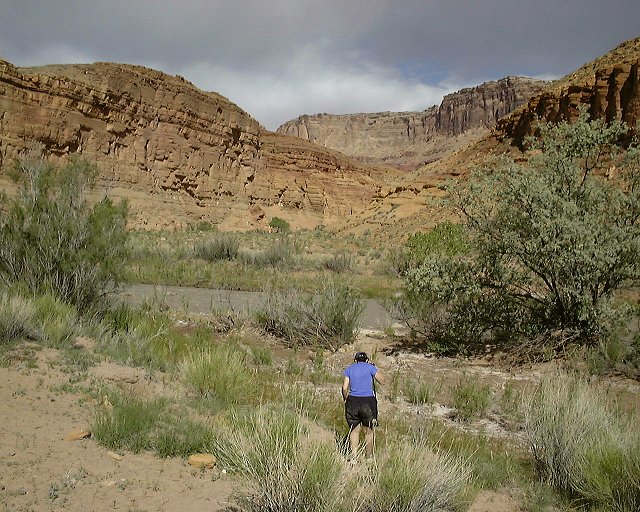 87. Last river turn before Hidden Splendor, the thigh mesa in the background is the western side of San Rafael Reef.
 88. View north towards the mining track that goes from Hidden Splendor site to the creek, from the mesa where the camp area is.
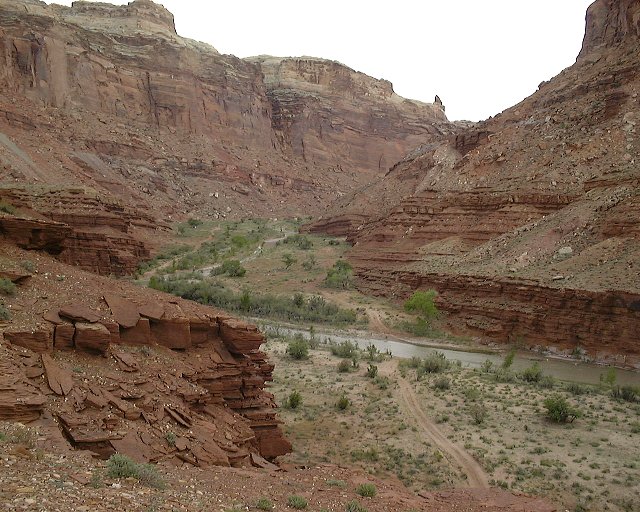 89. View south from the same spot towards where the creek starts cutting through the reef.
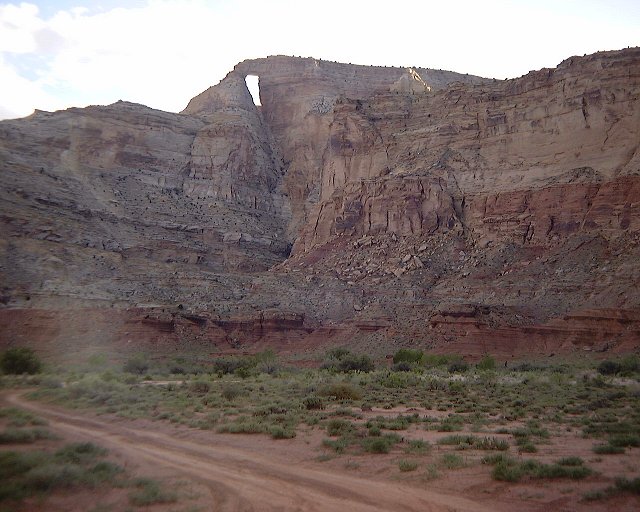 90. Hondoo arch on the western rim of Muddy Creek near Tomisch Butte, picture take in the evening during the shuttle back.
 91. Panorama of San Rafael Reef from the road to Hidden Splendor in the evening.